Just sit on it

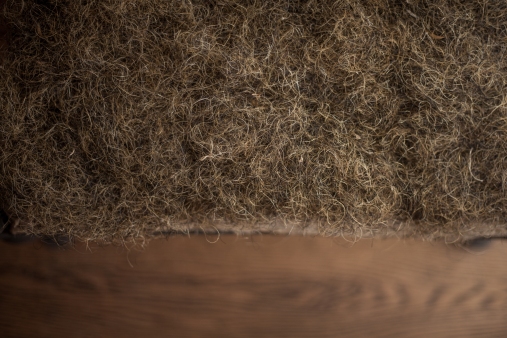
Cram more stuffing hair under the bridle stitches, forming a dome shape. This will create the final shape of the seat so make sure you do it right – No lumps or bumps!

IMG_0404

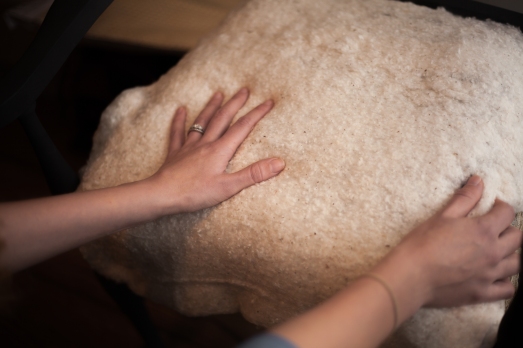
When you’re happy with the shape and its as even as you can make it, then cover the whole seat with a layer of wadding. This will prevent the hairs from sticking out once finished – Adios Prickles!

IMG_0411

Finally, cover the wadding with a layer of calico. Temporarily tack the calico in place – as taut as you can. Cut V’s at the corners to fit.IMG_0429
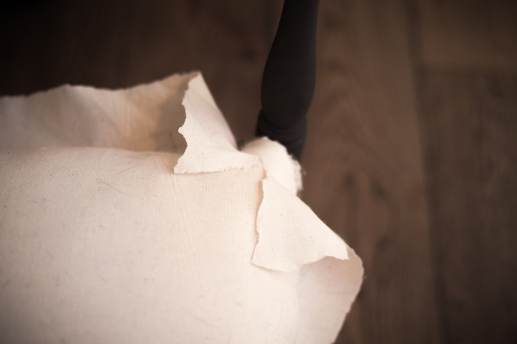
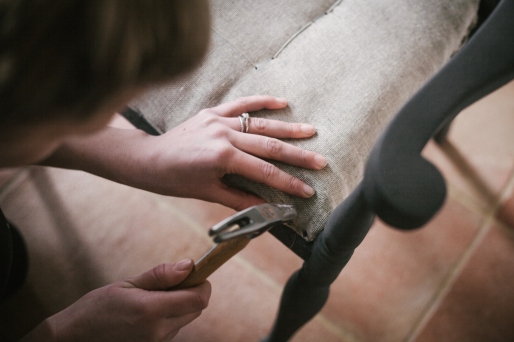
Now the next step is simple: Now just sit on the chair… for 24 hours (Pah, this is what my upholstery book instructed!). If you have a life, put a stack of books on it. This will stretch the calico. Once stretched, remove the temporary tacks, pull it taut once more and re-tack. Trim the calico close to the tacks. Done.  IMG_0426
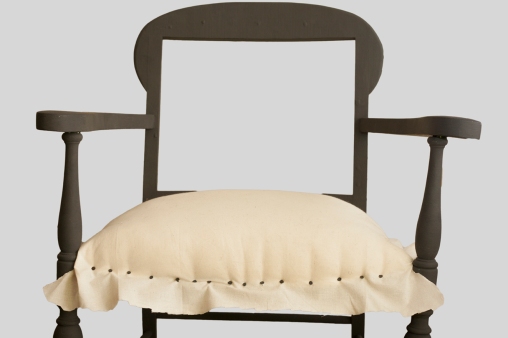
Next step… FABRIC! Waaaaaahhhhhhhhhaaaayyyyyy!!!

Edgy

Your kinda comfy seat now needs a little structure. Time to create an edge.

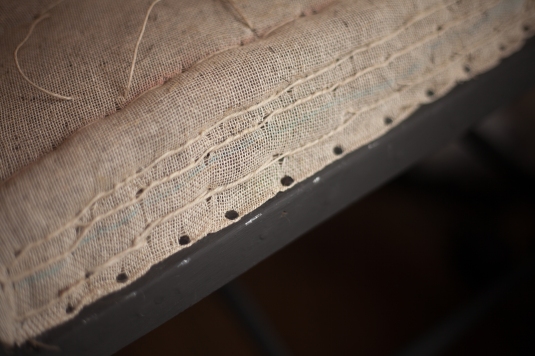
Sewing a running blind stitch around the sides of the seat will pull the hair towards the edges. This will help hold the shape over time. I did 2 rows of the stitching for the size of the chair, as well as an edge roll. Trust me, once this is complete, you will feel like a PRO.

IMG_0348

Now your chair will have taken on a new shape. It will have a firm edge with a hollow middle. So to make it “poofy” again, sew another running bridle stitch on the top of the scrim, as before, ready for your second layer of hair needed to create the desired dome shape.

IMG_0351

A prickly chair

With your hair evenly covering the seat, you now need to cover the hair with scrim. If like me, you have imagined that someone, somewhere, had actually been gathering the remnants from the plug holes in men’s shower rooms and then selling it in bulk to the unsuspecting on Ebay, claiming it to be upholstery stuffing hair… Then, you will be glad to have the stuffing tucked away out of sight. GAG, who cursed me with this vivid imagination?

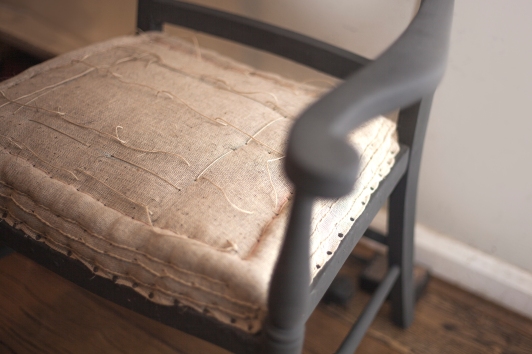
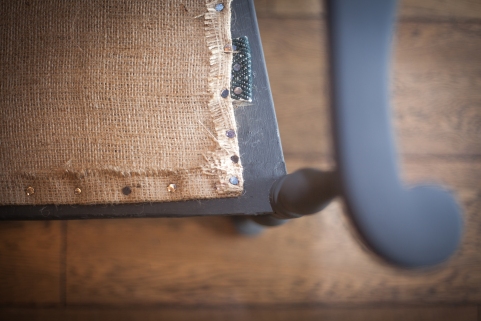
Annnnnyway, secure the scrim in place by sewing a square in the middle of the seat, threading the string right through to the hessian underneath. You can then hammer the tacks all the way round the edge of the chair, tucking the scrim under as you go, leaving the tricky corners until last. Think of it as wrapping a present.

POPN1-1

You should now have what looks something like a comfortable (kinda) chair, with an actual seat! I bet you serious ££££ that you can’t resist giving it a sneaky go and sitting your bottom down on it! Sit, bounce up and down bit, have a little wiggle. Yup, it works. Minus the scratchy hairs sticking out and prickling your touche, it aint bad. Give yourself a pat on the back.

Hairy Chairy

Now it’s time to get the chair ready for a jolly good stuffing!

I ended up layering two squares of hessian on to my webbing, rather than just the one. I figured it was better to be safe than sorry. The point in covering the webbing with hessian is to cover the hole in the seat of the chair and create a platform for the stuffing hair to sit on. Its important to use hessian with a close-weave so the hair can’t escape through it. I made the mistake of presuming that “quality” hessian meant it was close-weave hessian. Well, it was not close enough. Hence, the two layers. Luckily, it wasn’t any trouble and seems to have worked well. I’m back in the game!

POPN-5

I then sewed my bridle stitches. I thought this step seemed complicated, judging by the pictures in my bible book of upholstery, but it was actually pretty simple. That is, once you get to grip with the variety of different knots there are to tie. Did you know there are an incredible 64 different types of basic knots? And thats just the basic ones! Luckily, you only need to know 3 types for upholstery. A half stitch. The reef knot. The slip knot. Call me the scout queen!

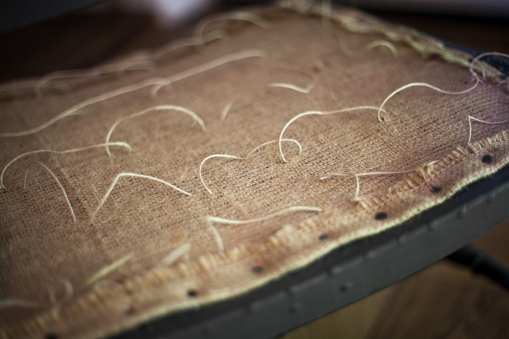
The bridle stitch is a running stitch, it should dance all the way around the chair in one big spiral, going up and under. The stitches are there to keep the hair in place so that the chair doesn’t become uneven and lumpy in places. Nobody wants to sit on that!  So by making the stitch run, it makes it adjustable. You can pull each stitch tight around the hair as you work your way along the chair, stuffing it as you go. It should look a little something like this…

POPN-6

Now stuff it!

No, I’m not giving up already. Don’t worry. I mean gather up your hog hair, horse hair or old man’s chest hair (whatever your preference) and get stuffing!

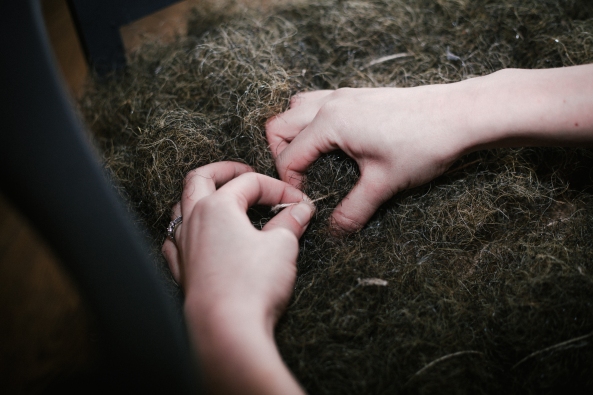
Pack the hair in under each bridle stitch, one after the other. Following the running stitch all the way around the chair, pulling tight as you go. Tease the hair together and try to spread the hair evenly across the whole seat, right to the edges (how you like your crumpet buttered). Don’t worry about forming a domed shape at this stage as there is more stuffing to come. “Grandads, razors at the ready!”

POPN-7

Web Weaving

For this step you will need:

  • Extremely good hand-eye co-ordination

-OR-

  • Plasters

POPN-4

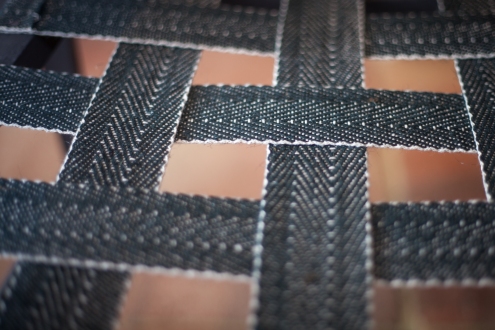
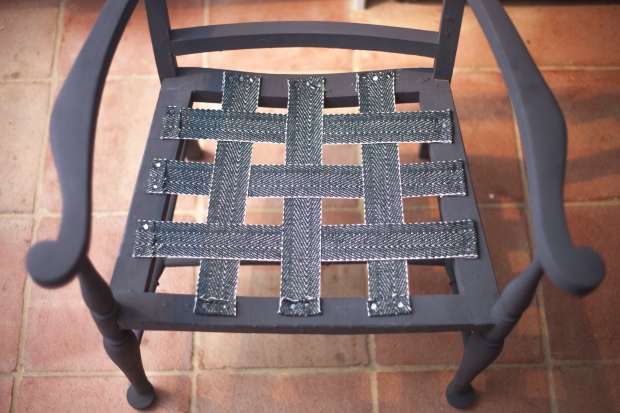
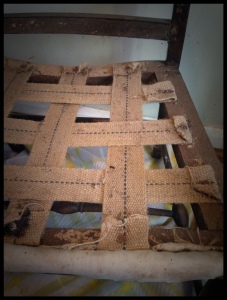
The books say to use a magnetic hammer so you can whack in the tacks, one handed. So the other hand can be busy keeping the webbing taut with the handy stretcher gadget. Sounds easy, right? WRONG. Jesus, either I’m just being a girl with barely a bicep or this is reaaaalllllyyy tricky.

First, I tried doing it the way the professionals suggested – holding the stretcher  with one hand, then with the other attaching a teeny tiny tack on to the magnetic end of the hammer and slamming it in the precise space I needed the tack to be. Yeah, that didn’t quite go to plan. The neat freak in me was screeching at the messy wiggly lines (if you could even call them lines) of tacks I had inserted to keep the webbing in place. Ew. Just when my chair was looking so lovely, this wouldn’t do. I felt like an amateur, struggling at the first hurdle. Sad face. I had to make a plan B.

I decided to screw the magnetic hammer. It left me with throbbing fingers and a chip on my shoulder/chair. Instead, I did what I thought was the obvious thing to do – I used my knee. I used it to wedge the stretcher tight. Allowing me to free up my hand to hold the tack in place whilst the other whacked it home with the hammer. Sure, you have to get in to some pretty wacky positions to get everything just right. It wasn’t just the webbing that got a good stretching! – the process turned in to a bit of a yoga session! Two birds. One stone. So yeah, maybe I am just a girl with no muscle – but boy, us girls sure are flexible and we know how to multi-task!

Voila!

POPN-2

Put down the paint brush. Pick up the tools.

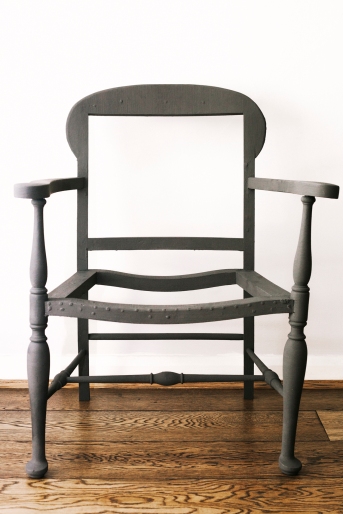
So, my chair is painted. What do you think?

IMG_0157

I am very happy with the result. The graphite has created a natural finish to the chair, which is exactly what i was hoping for. ‘Graphite’ as a material is associated with lead or stone – Natural raw materials. This association allows the chair to revert back to the history and although becoming more current in its makeover, it is steering clear of a totally ‘modern’ appearance by not completely departing from traditional styles.

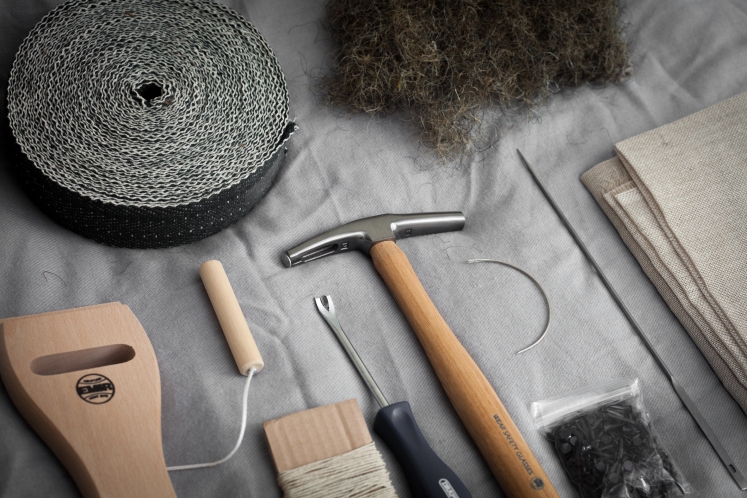
Now, the paint job is complete. You can put down the brush and pick up your tools. The next stage – upholstery! I was feeling terribly daunted by the thought of an upholstery project. Where to start!?… I looked in to attending some upholstery classes to learn a few basics but they all seemed very time consuming and incredibly pricey… So instead I purchased a book: ‘The Upholstery Bible: Complete Step-by-Step Techniques for Professional Results’ by Cherry Dobson. (A bargain at £12 from Amazon compared to a £300 day class). After a flick through and a quick skim read, my fears turned in to excitement! I was rearing to go! The book breaks down each step of the upholstery process, clearly, simply and with pictures! It makes it seem easy peasy. I would highly recommend that you BUY THIS BOOK! (And I promise, I’m not on commission).

I have a feeling that I’m going to be a dab hand at this whole upholstery thing. Im a bit of a perfectionist. A huge neat freak. Always have been. This is my calling!

Tools at the ready, here I go!

POP1-5

Decisions, decisions…

So, now the chair is good to go. The fun stuff can begin! The transformation!

By this point, you should have a rough idea of what you want the piece to end up looking like.  If not, scour every sparkly corner of the ‘tinternet’ until you have drawn inspiration from the ‘blogosphere’.  Oh and meet Pinterest: the online scrapbook. You will become the bestest of friends. Visit Emma Blessing’s profile on Pinterest.

Me? I want to take furniture, no matter how tired, sad or unloved and bring it back to life. So it must be contemporary and have bags of style. I aim to create eye-catching one off pieces – otherwise I wouldn’t be going to all this effort – i’d just head to Ikea instead. (Boo hiss boo!) Although I want to freshen the furniture up and allow it the “get with the times!” I also really really want to keep the chair looking slightly rustic and a tad aged. I wouldn’t want to strip it of all its lovely bubbly character – after all this is what drew me to the chair in the first place. So a lot of thought has gone in to the choice of paint and fabric. I hope you like it.

I will be painting the chair using chalk paint. This will result in a duller, softer, matt-like colour and finish. The colour I have chosen is ‘graphite’ – a deep grey with maybe a blueish hint to it. It’s not overly daring in colour but it is still bold, making the chair stand out and appear striking. The colour will also compliment my chosen fabric. But we will come to that later – I don’t want to give too much away just yet!

If you haven’t used the paint before, test it first to be sure you are 100% happy with it. You don’t want to get this far to have to start over, hell no.

Good Luck! POP1-6

Blanc.

Time to take the chair back to blank. Prime it. Ready to start from scratch.

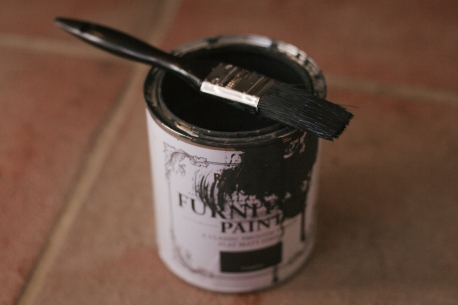
Always prime furniture prior to painting if you want the finish to be lasting. Some paint brands claim ‘no prep required’ but it’s best not to cut corners if you are aiming for quality. Apply 2 coats and stick to the recommended drying times. Think of it as therapy. Enjoy!

cropped-pop1-11.jpg


Bare it.

The first step. Stripping.

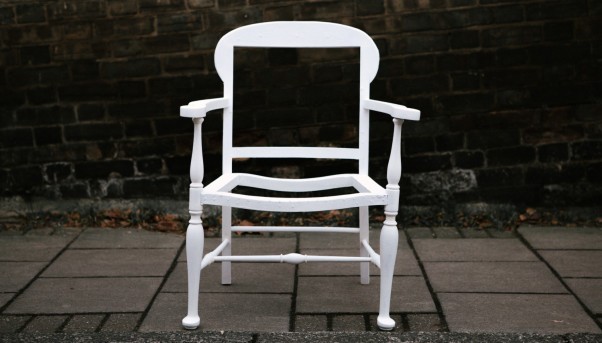
Importantly, the chair with a story is strong and the joints are sturdy – so you’re not going to go ‘bottom up’ as soon as you perch on it. However, the overall condition is quite poor. It is grimy and had a hearty battering with rusty tacks and jagged nails. There are holes galore. Disappointingly, this means I won’t be able to replenish the wood, but instead will need to paint the frame.

In preparation for this, I need to strip the chair to the bones. Bare all. Turns out this is not the easiest of tasks. Blood, sweat and tears have already gone in to this chair. I now suspect the saying “Grin and ‘bare’ it” derived from furniture restoration.

Painstakingly, I removed the tired old webbing, along with each and every tack and nail (109 I counted). I learnt the best way to do this was using a pair of pliers and twisted them out of their pesky, tight, horrid, little holes. I sanded the chair down, using course paper for this stage. Then, I wiped it down with some sugar soap to give it a good clean, ridding it of the years of grease and dirt. Left it to dry. Then, filled in those nasty holes using wood filler… “Hasta la vista, Baby”. Again, give it a good sand down, using smooth paper this time, for a desirable finish. And finally, wash down with another bucket of sugar soap. JOB DONE.

TIP: Patience is key. If the wood filler tub says the drying time is 2 hours, then LEAVE THE CHAIR ALONE for 2 hours. Don’t try to rush the job. I learnt the hard way.

Although this stage sounds like hard work – and it is! It is important to prepare the piece of furniture thoroughly before starting a project if you want to achieve a professional finish. chair 2